IMPORTANT:- Some links in this article will only be accessible to authorised Members that have logged into the Exchange Trade Centre
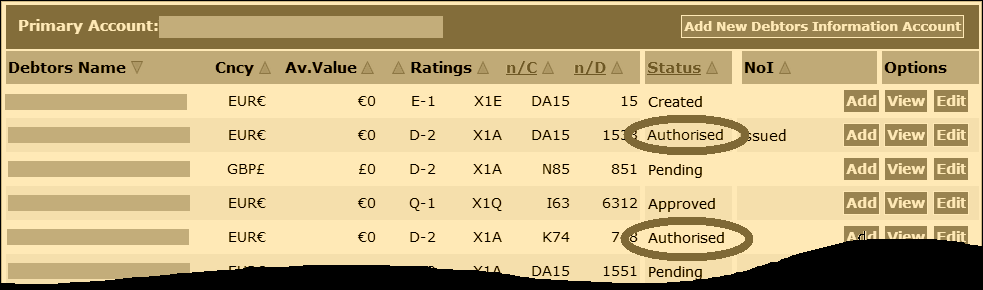
If there is more than one user on your Originator account, it is possible that these other users have added Debtors to the account. Before using the ‘Create new Debtor’ menu item, you should check the list of Debtors enabled on the account. To do this, simply login to the Exchange Trade Centre | Dash Board and select the My Debtors menu item from the left side menu. If there are no Debtors listed on this interface, use the instructions below and Create new Debtor and note that all Debtors must have Status ‘Authorised’ before any invoices/ETR can be traded and sold on the Exchange.
As explained in the previous article: 2. Add new Currency, if you are going to sell invoices/ETR in more than your base currency, you must first use the ‘Add new Currency’ menu item. Once the currency is added, you can enter your Debtors. Login to the Exchange Trade Centre | Dash Board and select the Create new Debtor menu item from the left side menu.
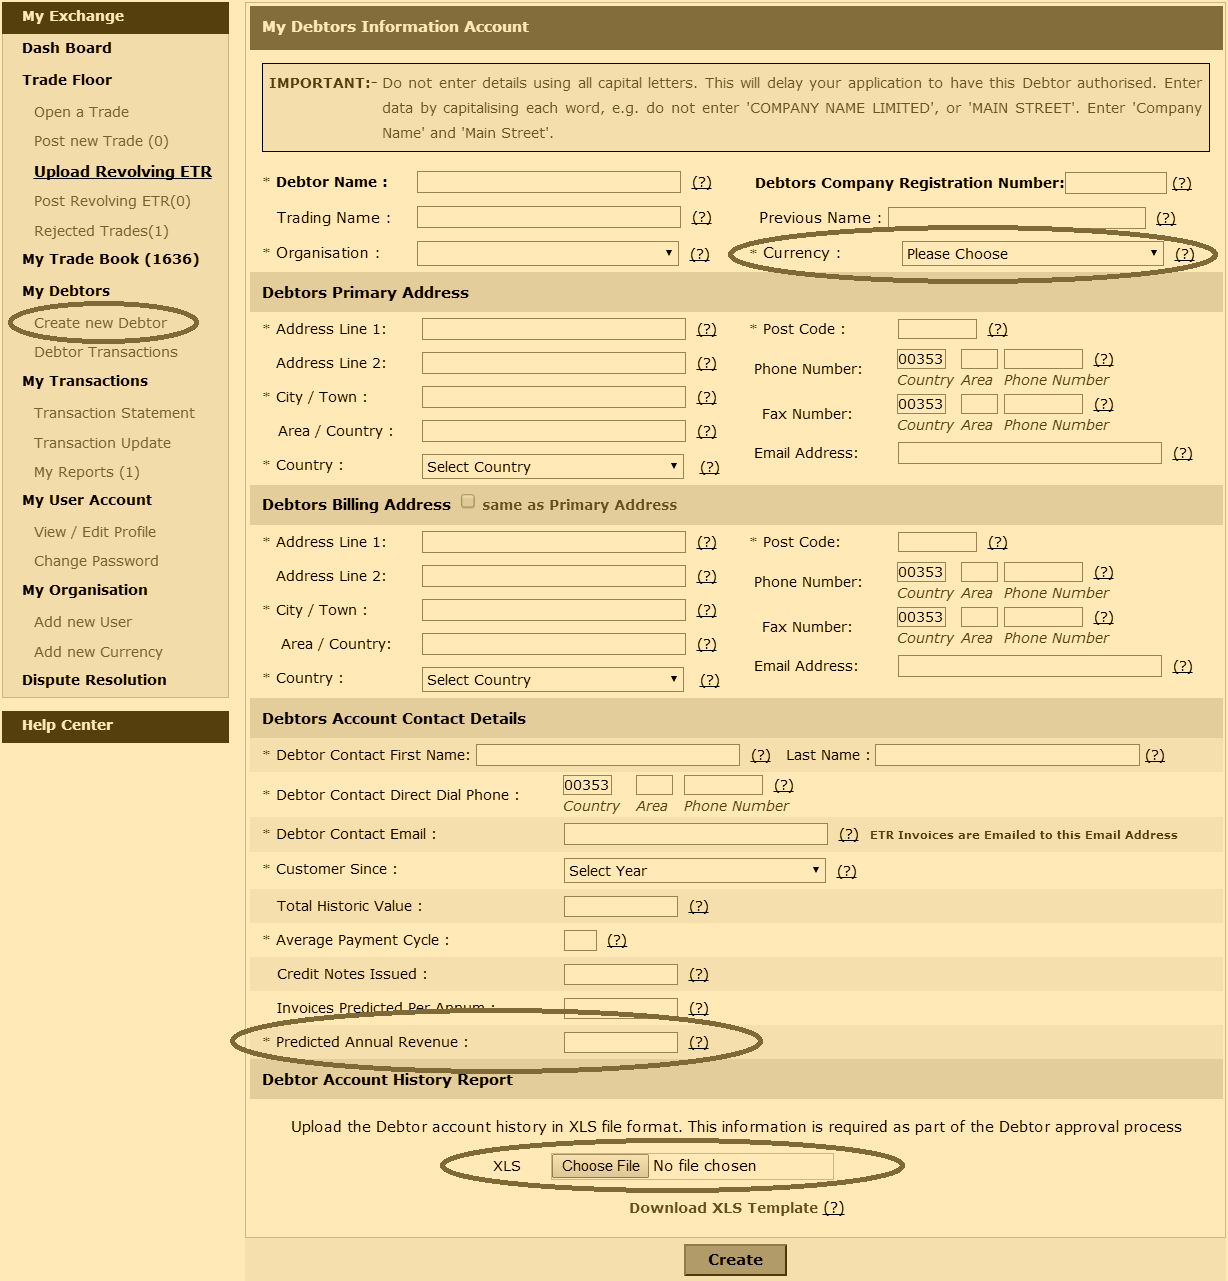
The Add new Debtor interface provides you with a drop down list of available currencies (if you need to add another currency re-read article 2. Add new Currency). Enter all the Debtor details on this form and note that mandatory fields are marked with an asterisk *.
Before submitting the form, you should also attach the ‘Debtor Experience’. Depending on your accounting system and the terminology you use, Debtor Experience is also referred to as the trading history, or Debtor statement, or customer transactions report, amongst other names. Export the Debtor Experience from your accounting system and copy the data into the debtor_template.xls. The Exchange system will accept correctly entered data in this specific format in .XLS format only. With the form completed and the correctly formatted debtor_template.xls attached, submit the form for processing by the Exchange Back Office.
Note:-If the form will not accept the debtor_template.xls, check that the file is saved as in .XLS format and that you have entered all the data in the format prescribed. Then try uploading it again
IMPORTANT:- Allow 72 hours for the Exchange Back Office to enable the Debtor application Status to ‘Authorised’.
Move to the Next Step: 4. Open a Trade >>>